Organizing: Before and After
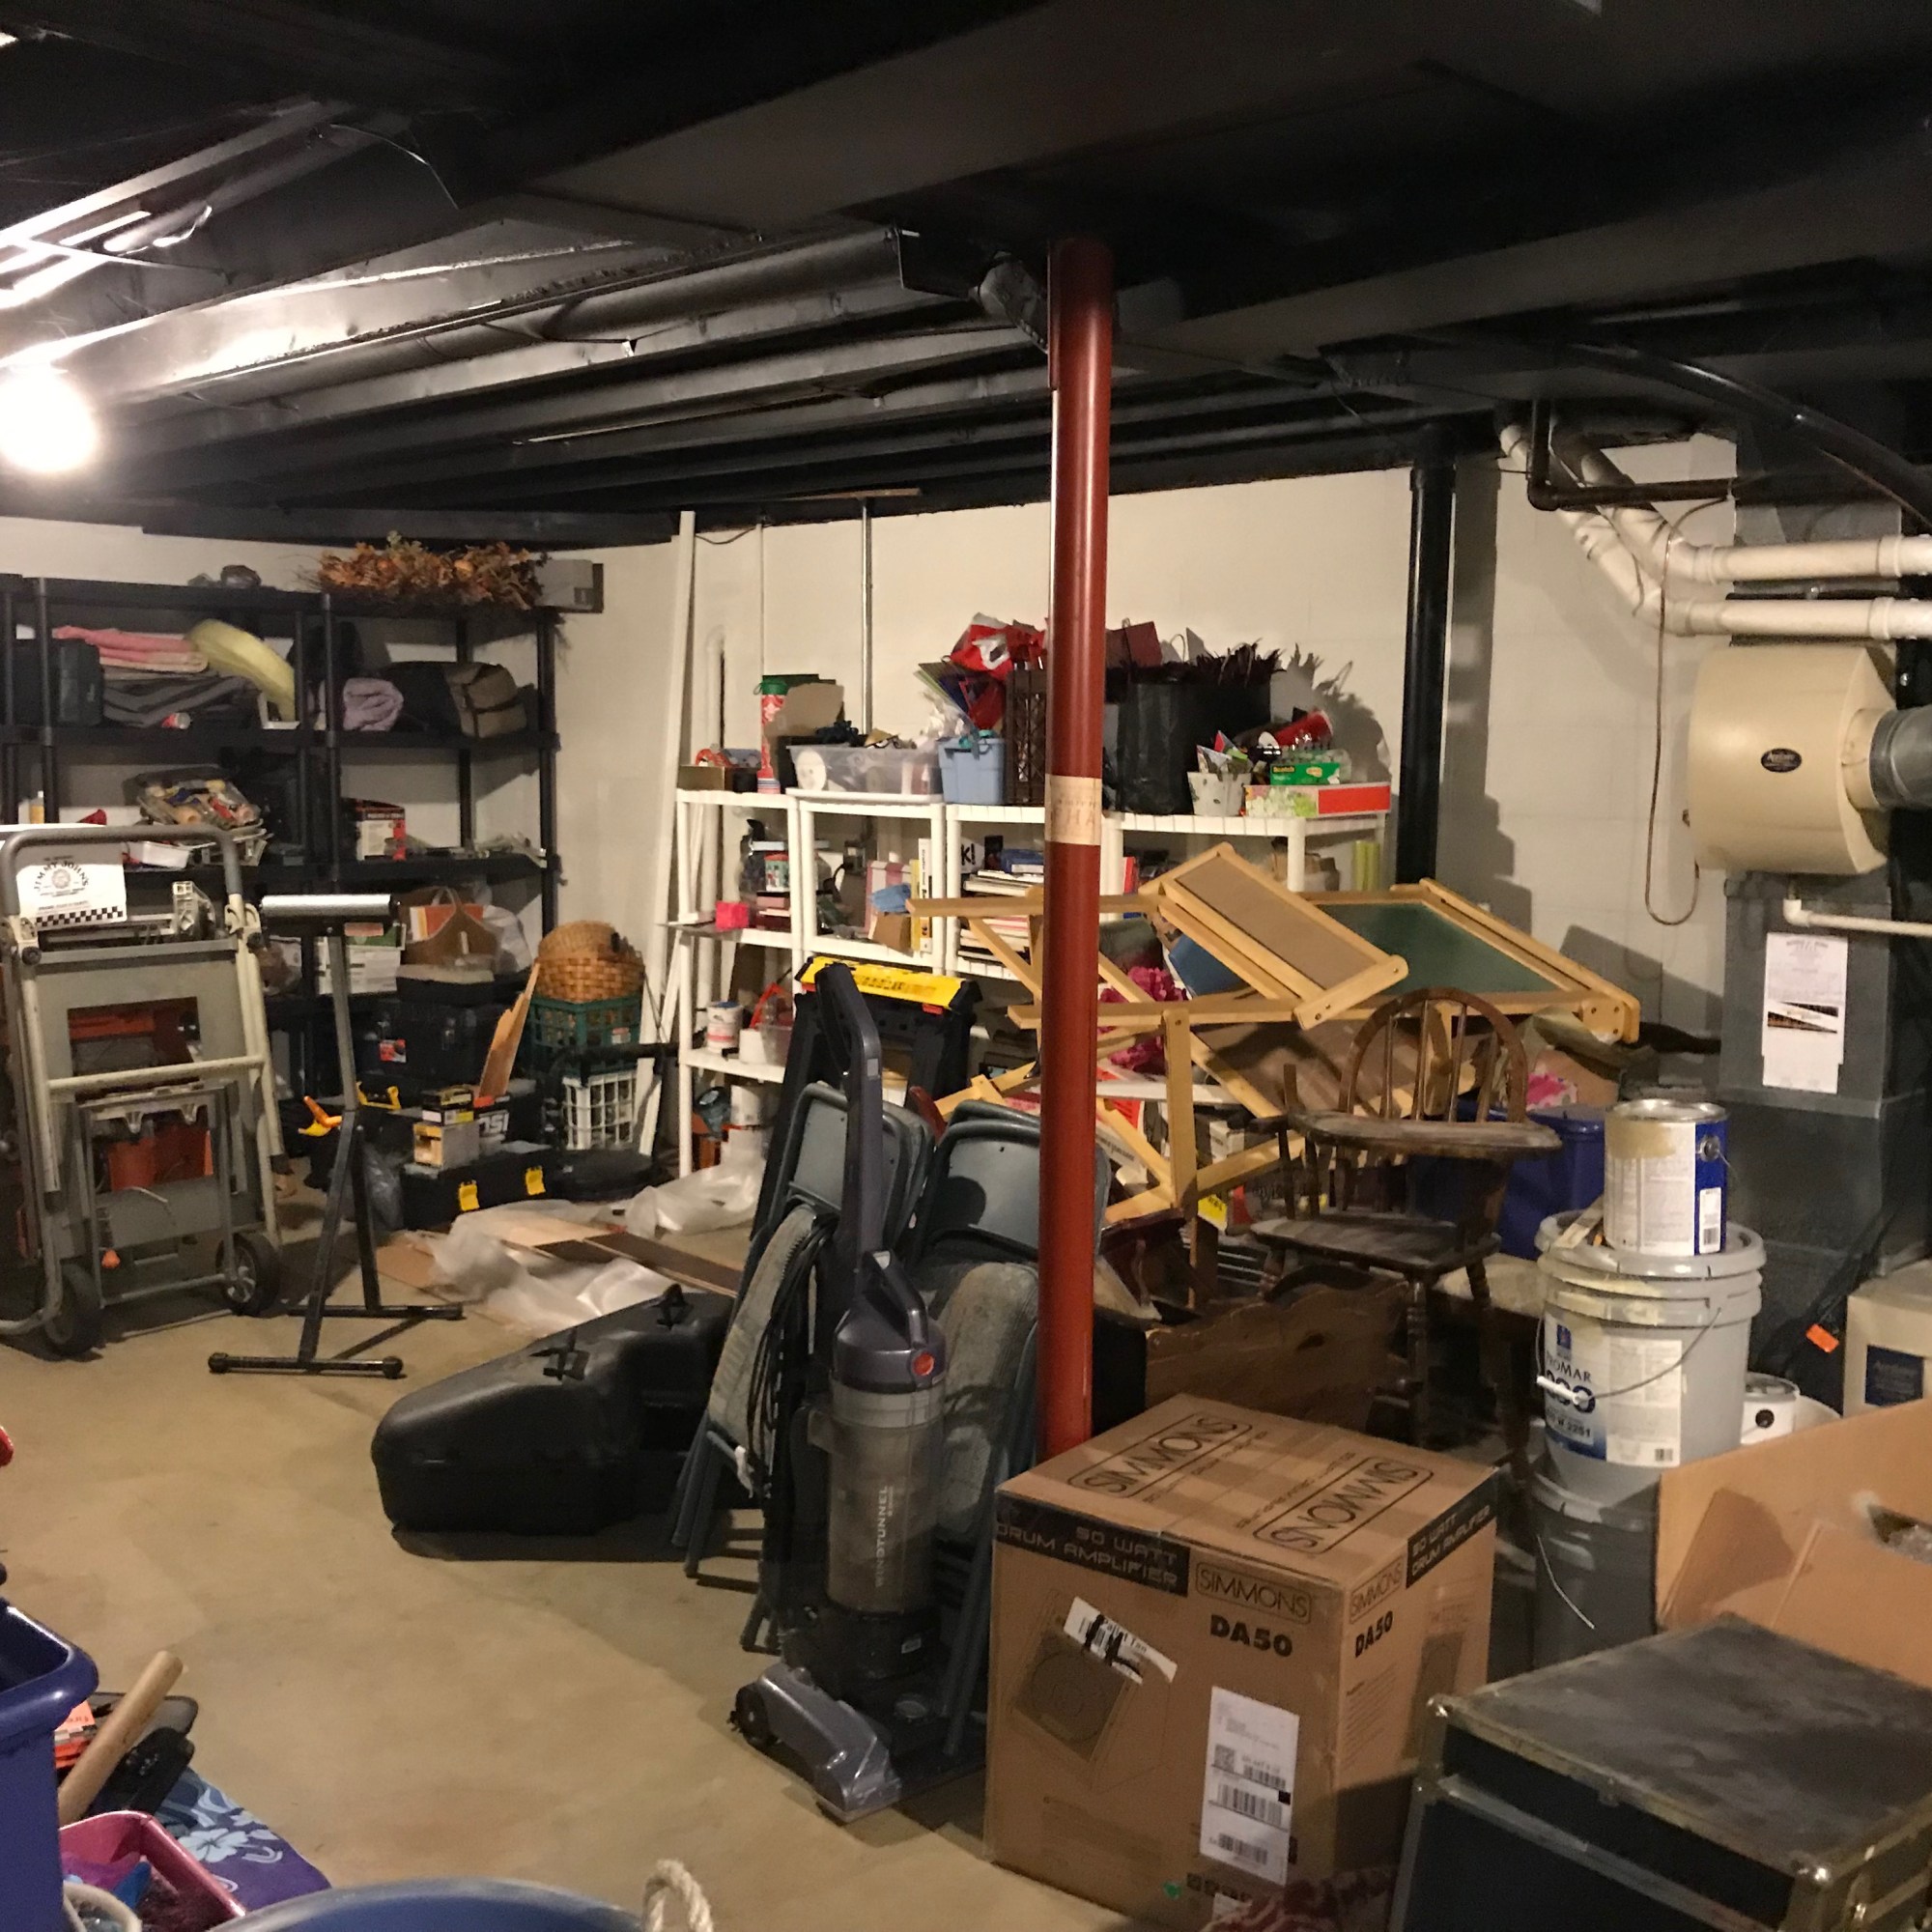

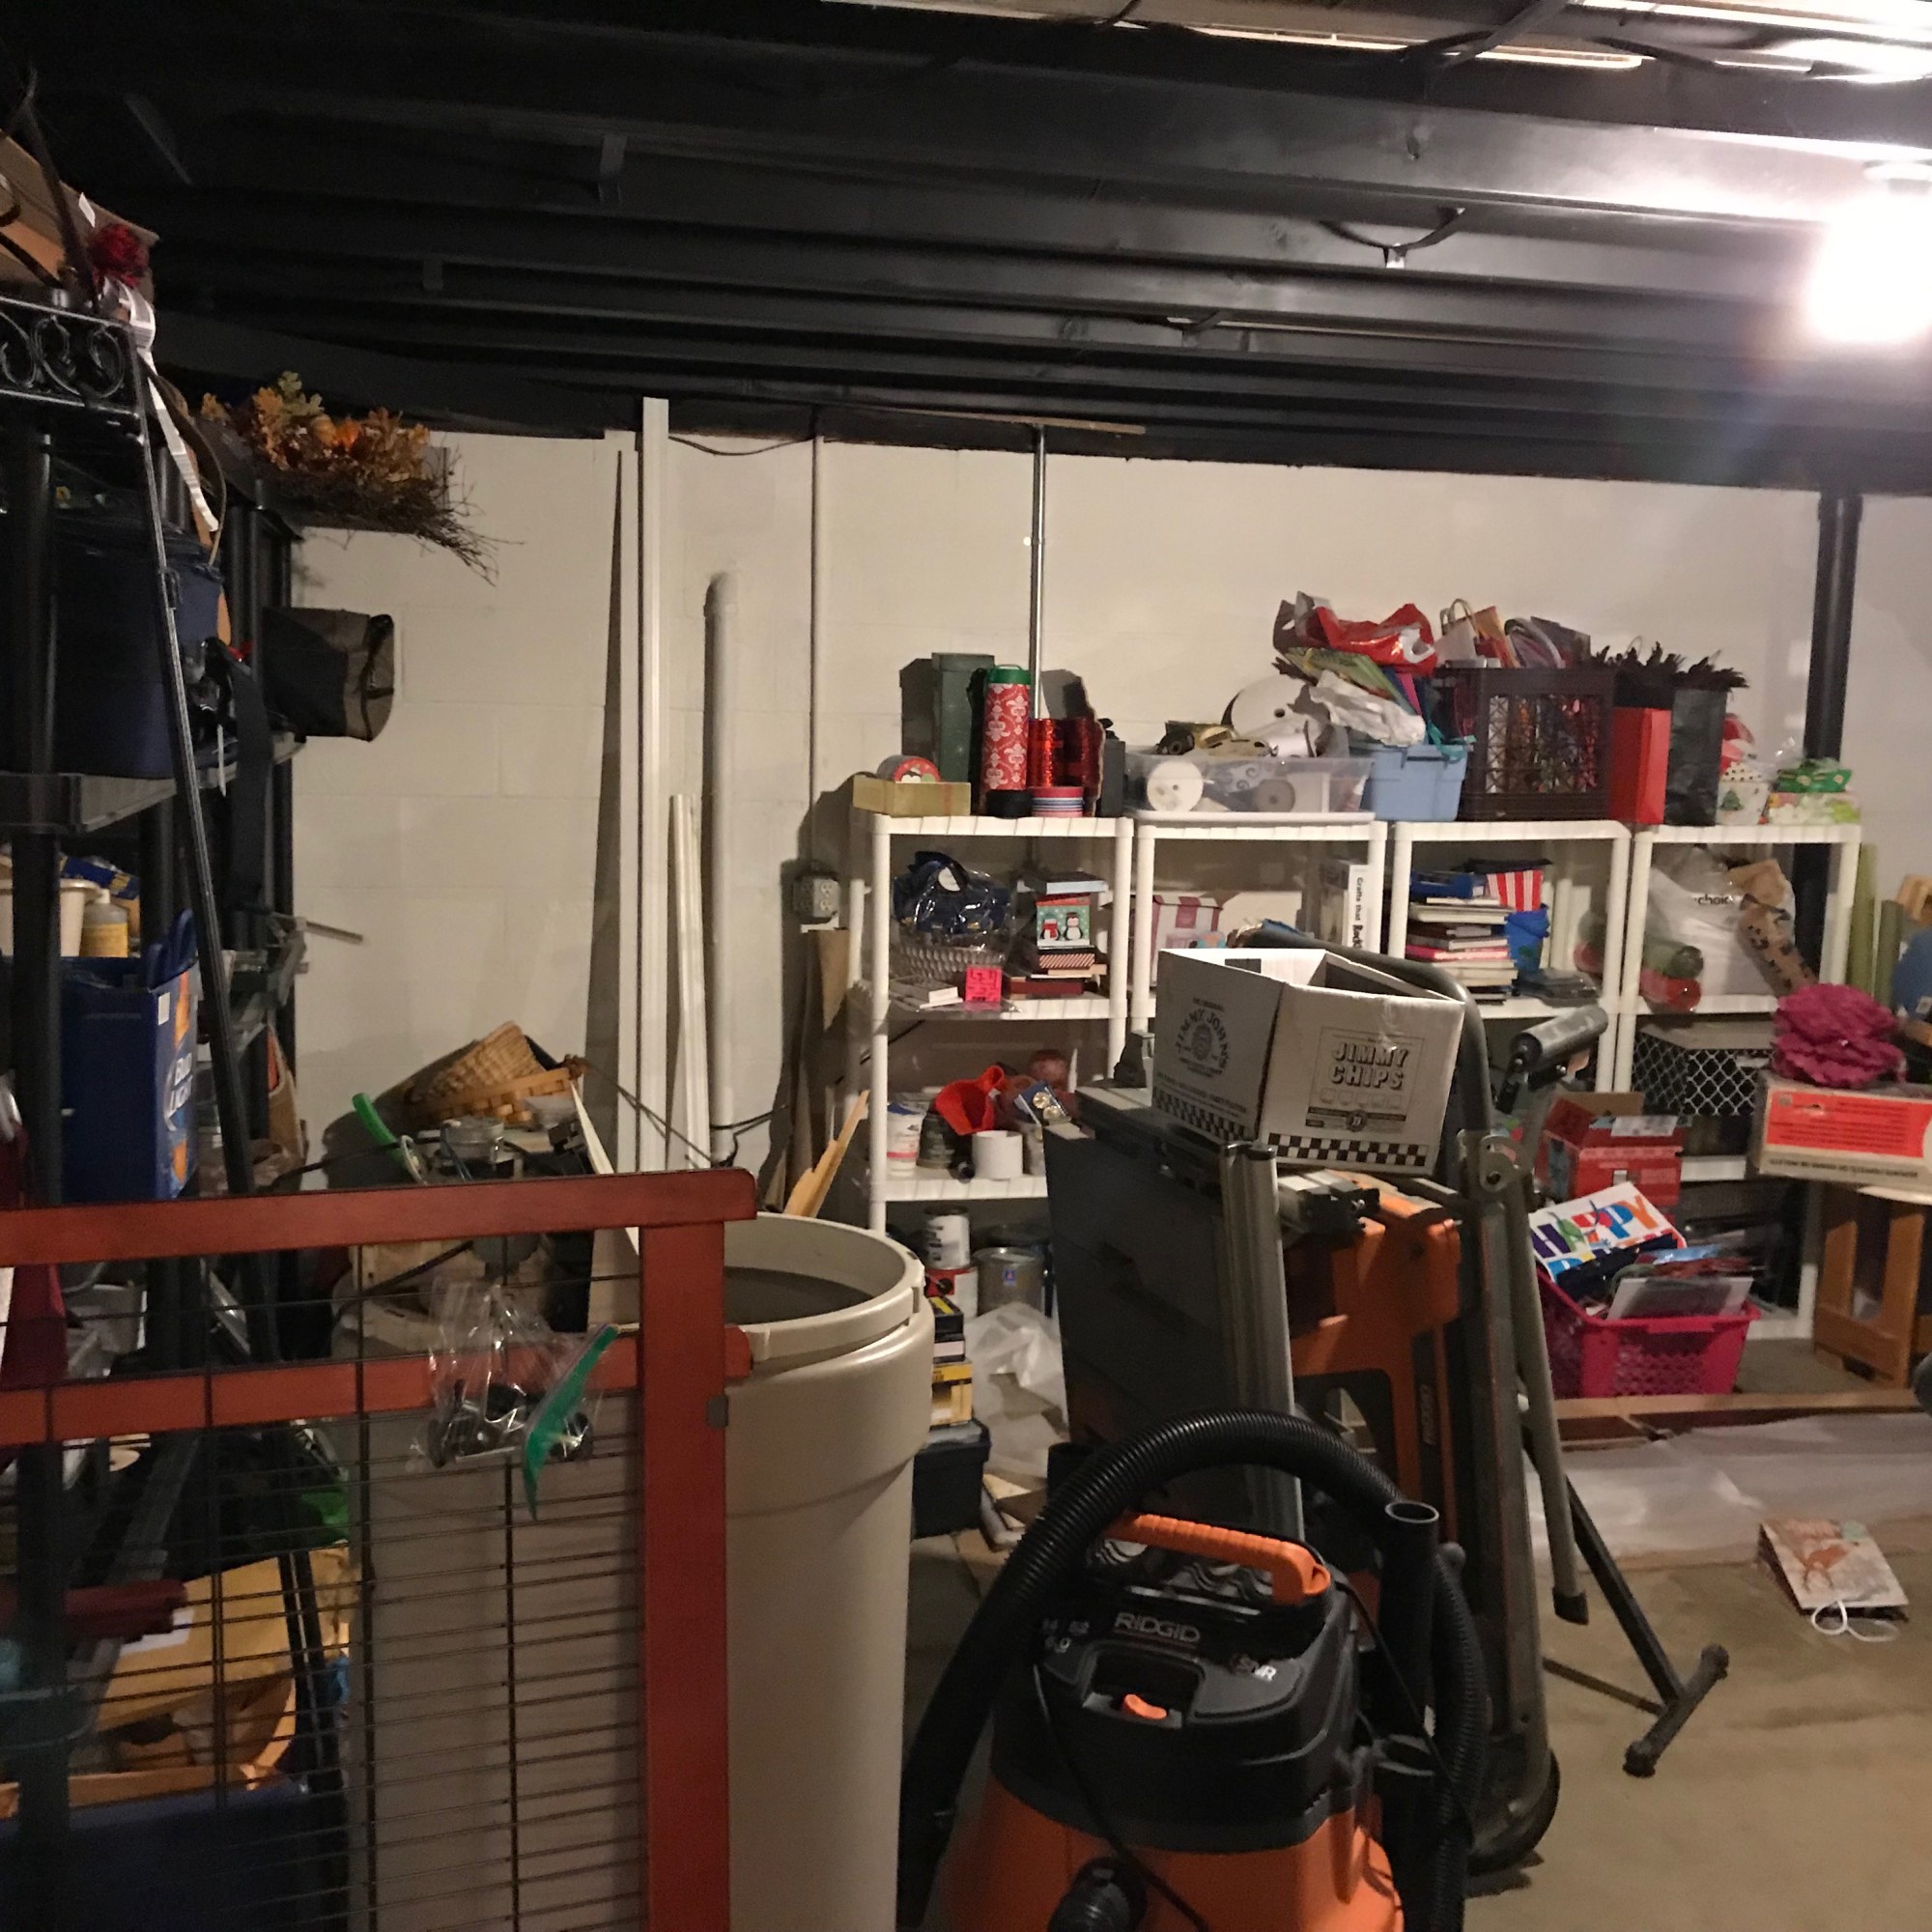
I love before and after comparison pictures, so I thought I would share my latest project here. I recently did an organizing job in a client’s basement. Their basement had become so cluttered that they couldn’t get to any of their shelves to put things away, so it just kind of piled up.
The basement already had a lot of great storage shelves and bins, so I worked with what they had and made it more accessible and functional. I sorted similar things into labeled bins and boxes so that they would be able to find things easily the next time they went looking for something.
This entire project too me just under 4 hours from start to finish. It’s amazing what some strategic organizing and hard work can accomplish in a short amount of time!
If you have a space like this or any space in your home that is overwhelming for you and you don’t know where to start, I would love to help! I enjoy creating order from chaos and setting up functional systems that will make keeping it clean and clutter free easy.

Clean Vs. Staged – What’s the difference?
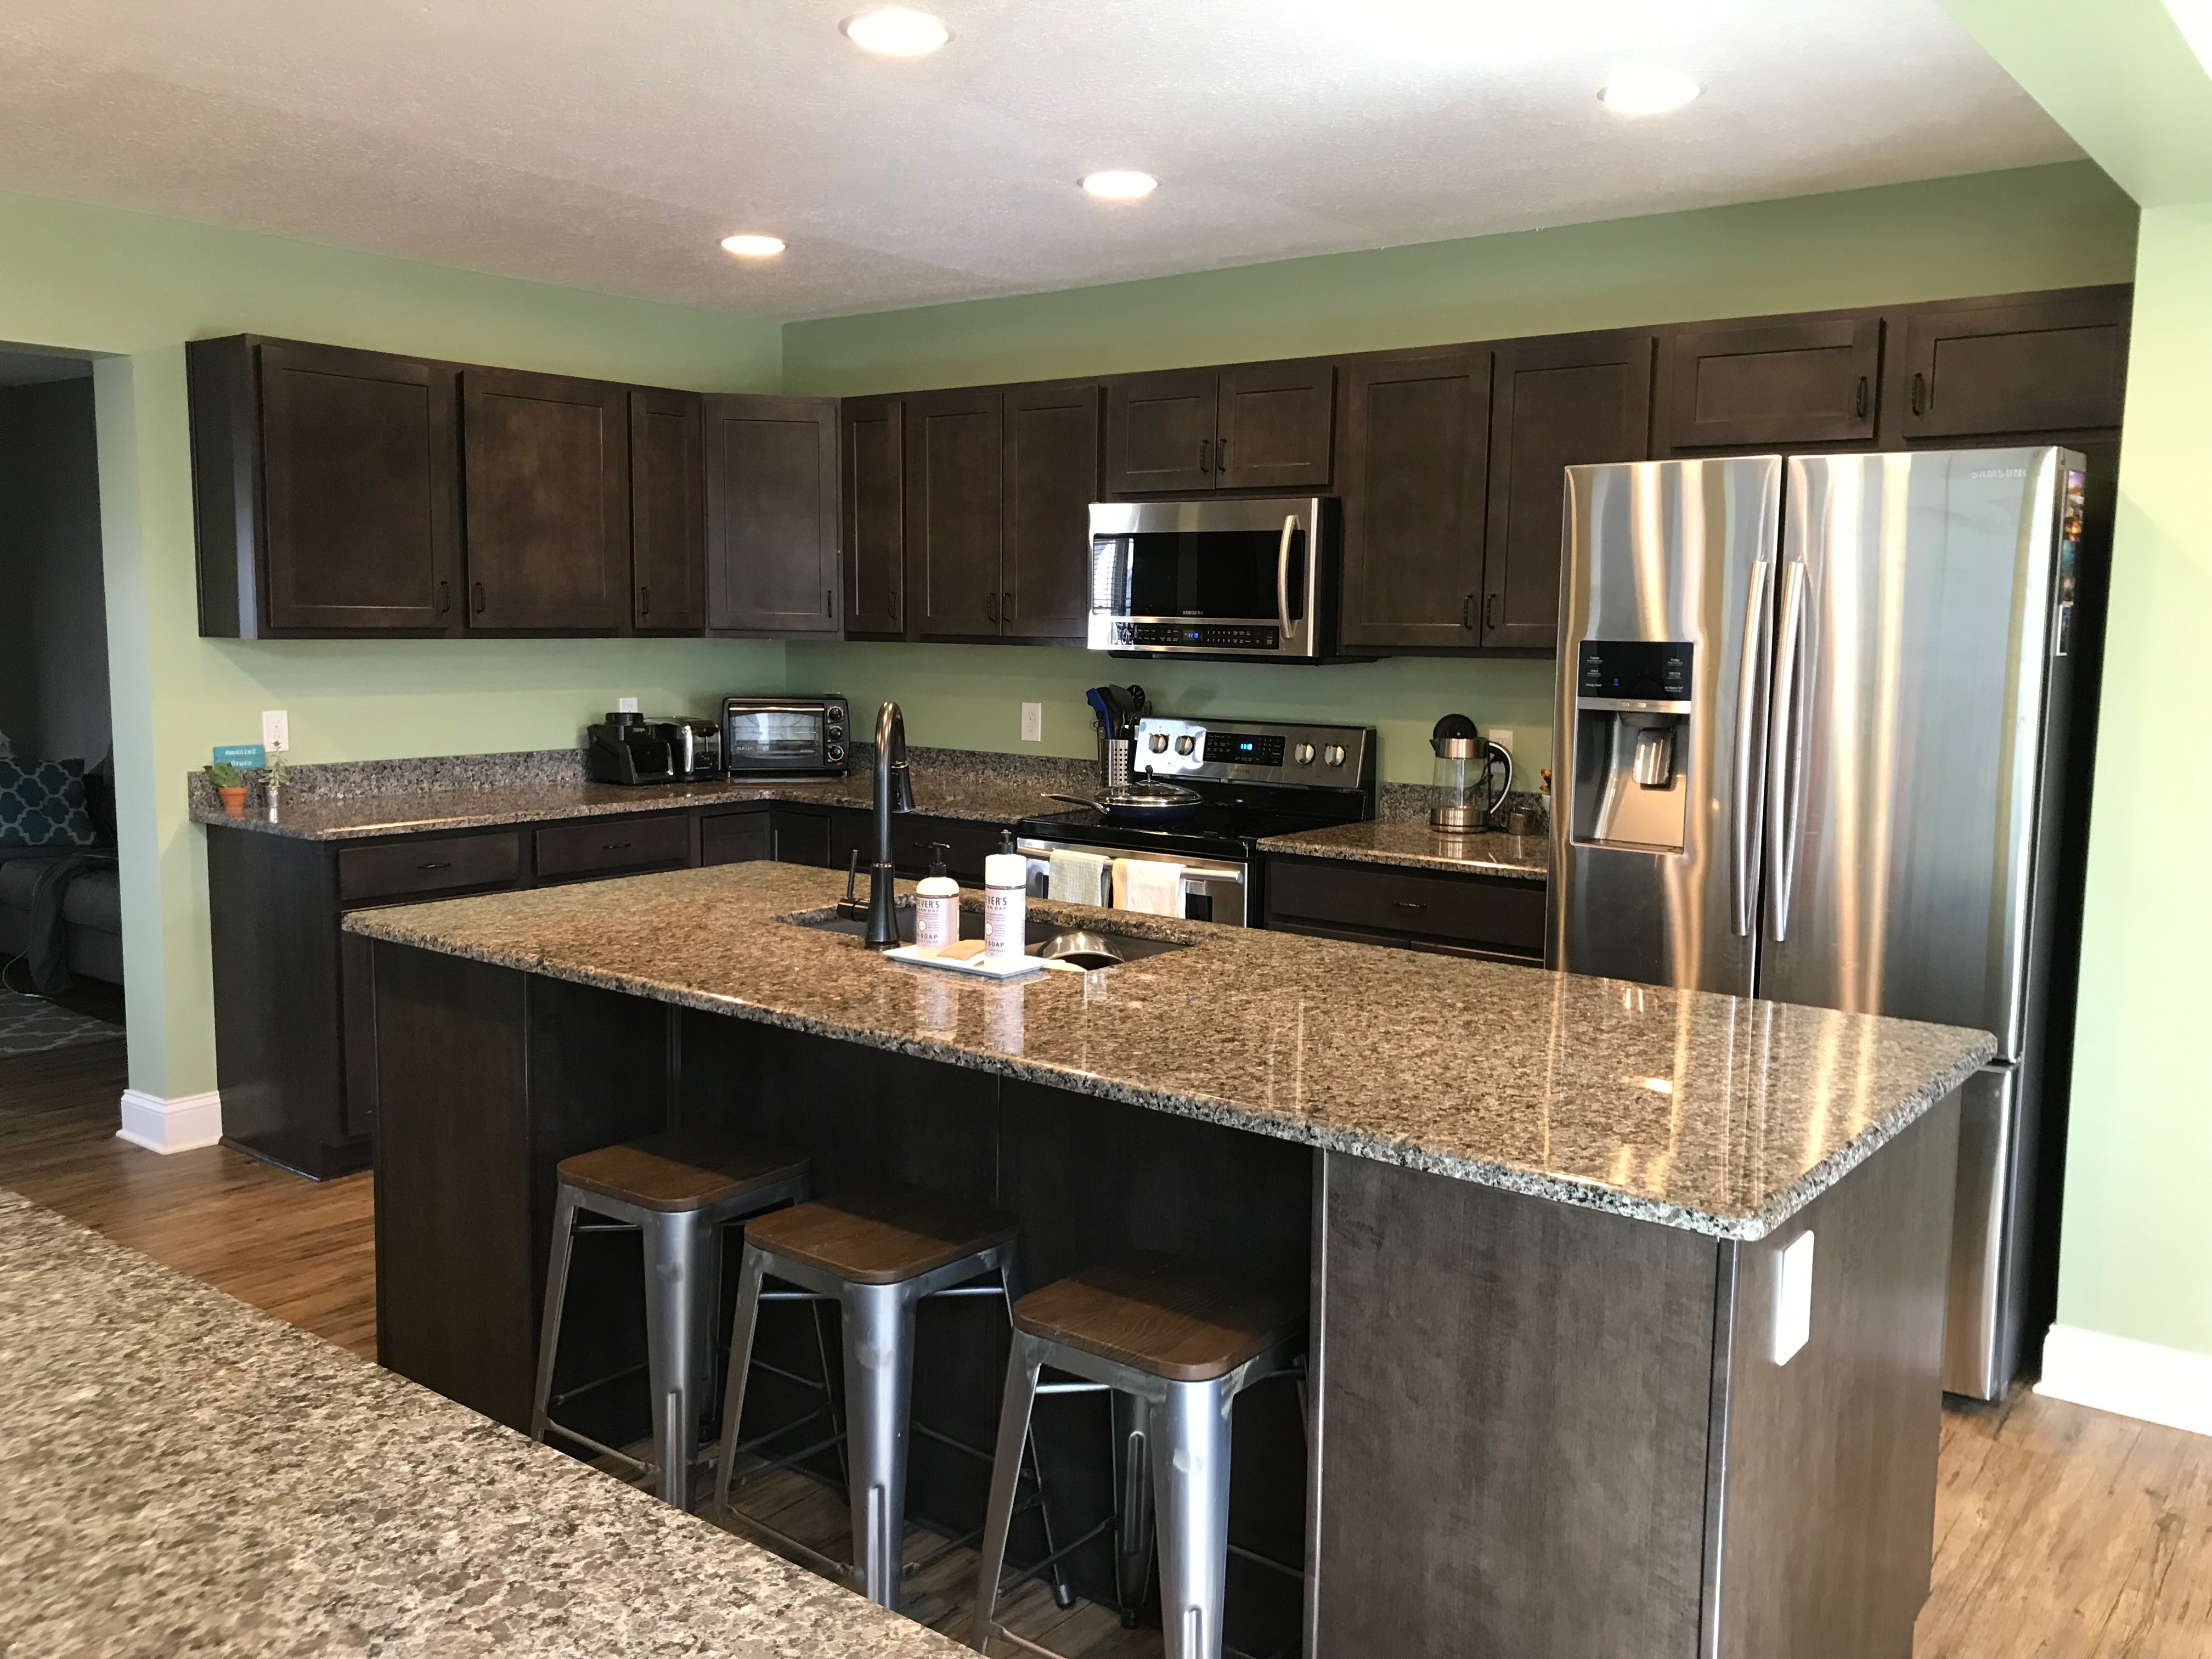
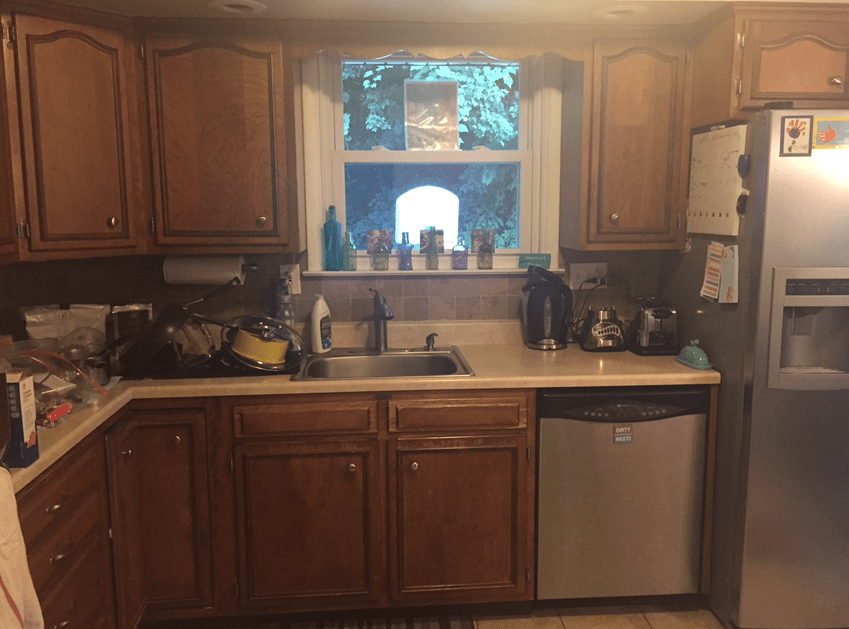
If you are a home seller or a realtor, maybe you are wondering why you would hire a stager when it’s easy to make sure the house is clean before a photographer comes. Well, there is a big difference between a clean house and a staged house.
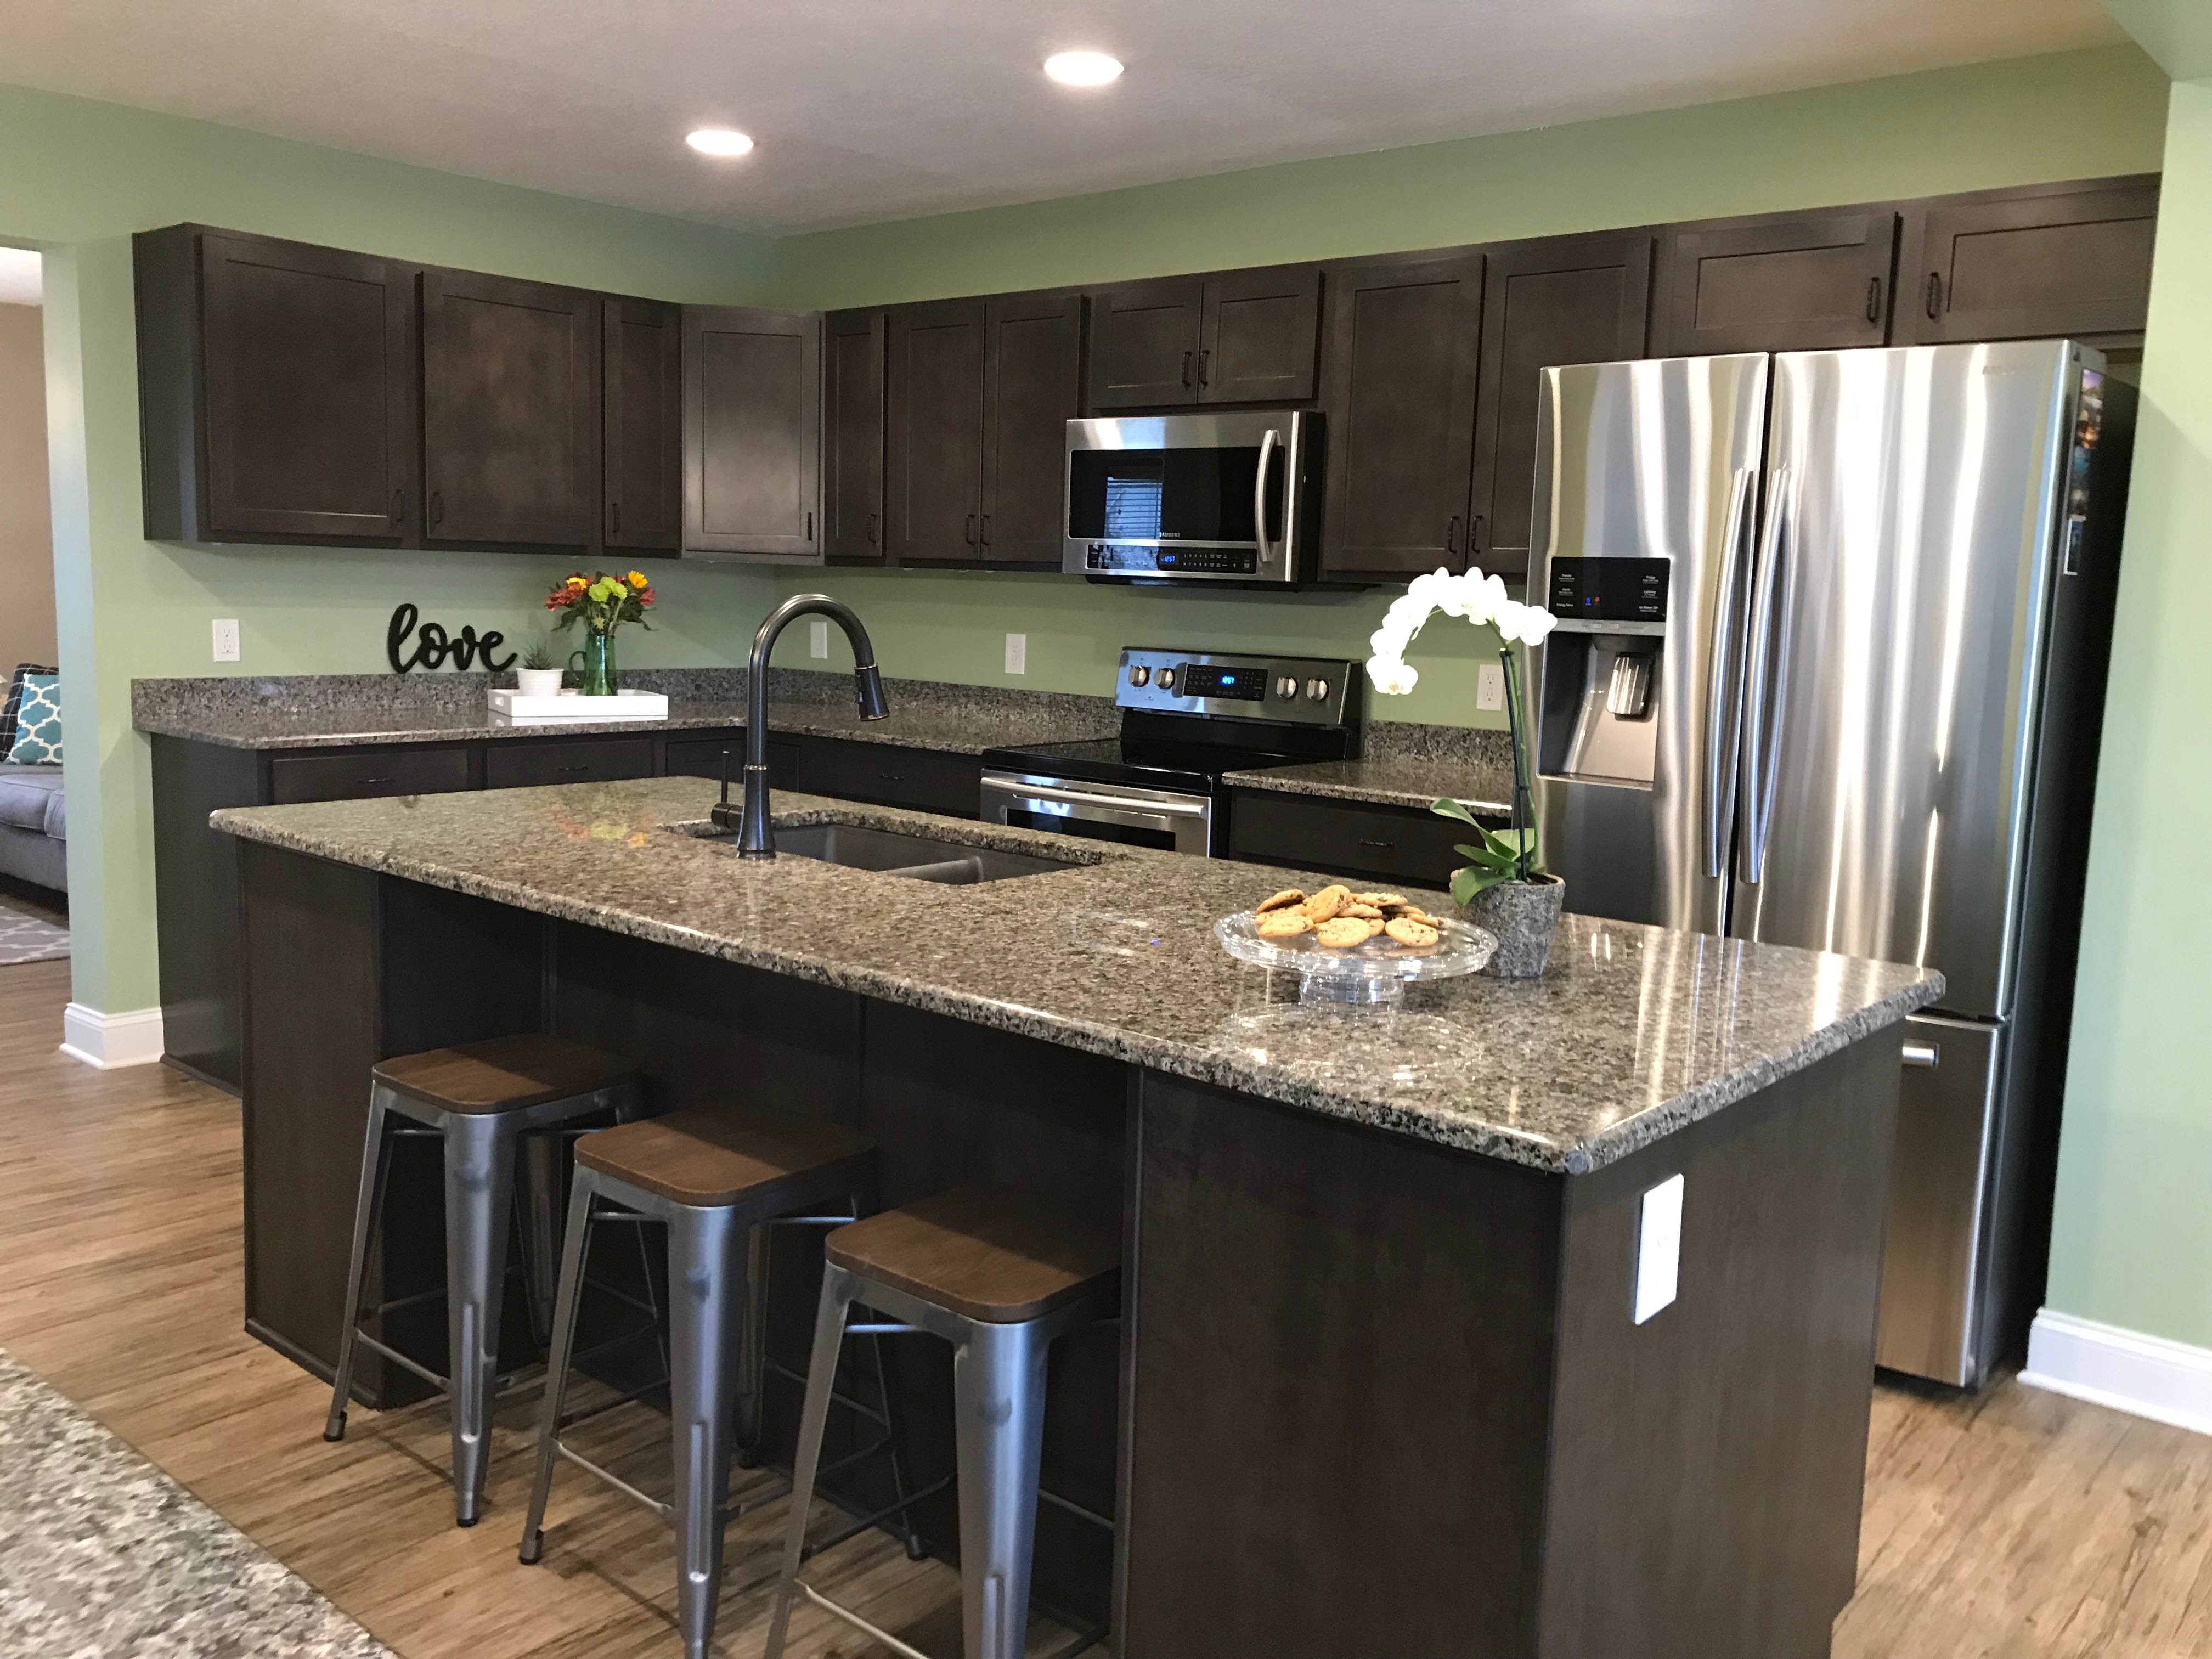
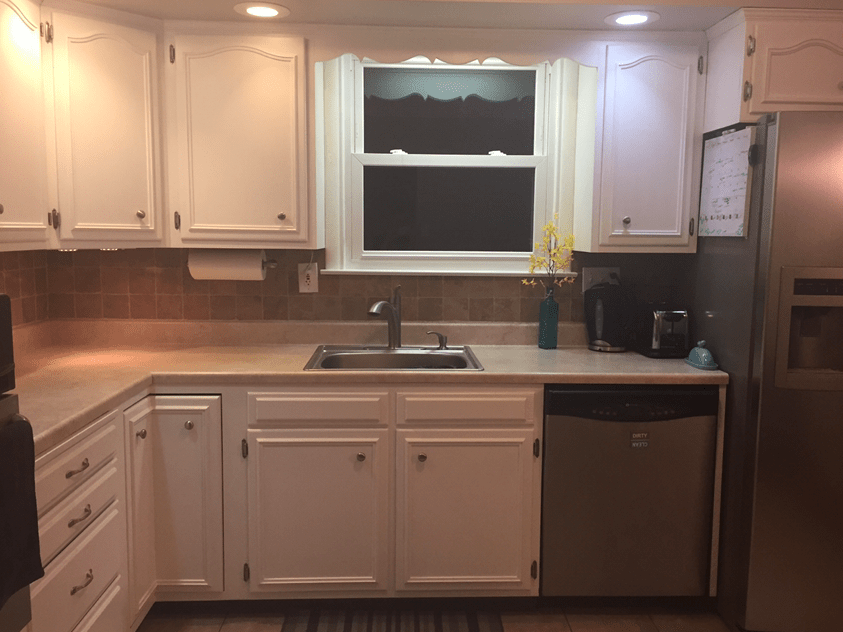
This difference is what sets the good houses apart from the great houses. In the first picture you see a clean and tidy, but sterile looking kitchen. In the second picture you see a kitchen that is inviting and one could imagine entertaining guests here.
Anyone can clean off countertops or shove a mess into the closet, but a stager can make the house look much more appealing than just clean. And usually the changes that need to be made are free or very inexpensive.
A clean room usually means that all color, decor, and signs of life have been eliminated. A staged room means that it has been arranged and decorated in such a way that accentuates its strengths and minimizes any weaknesses it might have. This is done so that when a potential home buyer walks through a house they can envision themselves living there. There are splashes of color, signs of life, and emotional connections all throughout the house. So, of course the potential buyers want to make an offer on the house and they are willing to pay top dollar in order to get it!
Kitchen Update on a Budget
Whether you are getting your house ready to sell, or you just want a more clean and updated look, painting your cabinets is one of the best ways to make a big transformation on a budget.
The kitchen in our 1960s house still had its original oak cabinets. I decided that the best way to update the kitchen without spending too much money was to paint the cabinets white. I will say, it is a lot of work and takes a lot of time. So, if you can afford to pay a professional painter to do it for you, then you should go that route. But, if you have more time than you have money, you can do it yourself!
The easiest way to paint cabinets is to buy an all-in-one paint kit from a hardware store. The kit comes with everything you need to do the job, and you don’t have to strip or sand anything!
Here are a few tips to make the project go as smoothly as possible:
- Keep track of which hinges came off of which door and where the doors came from. You already know the doors fit in those spots exactly right and it’s best if they go back to their original spots. I did not do this, and a few of the doors did not want to fit back on correctly when I was done.
- Do a section at a time. If your kitchen is any bigger than just a few cabinets, try to split up the kitchen into a few sections and work on one section at a time. Otherwise your whole kitchen will be torn apart for the entire time it takes you to do the project.
- Be diligent. Work on the job as often as possible, so that you make progress. Even when you want to quit, keep going! You can do this, and it will be worth it in the end.
3 Easy Steps to Declutter your Home
Read to the end to see the after picture!
I know that Marie Kondo’s new show on Netflix is popular right now, and that’s for good reason – she knows what she’s talking about! I enjoy her show, and after watching an episode or two, I am always motivated to clean my house. But, I do think she can be a little extreme. So, I have 3 easy steps to help you declutter, that might feel a little more realistic.
Marie’s mantra is to get rid of anything that doesn’t “spark joy.” But, there are a lot of things in my house that don’t “spark joy” that are necessary – like most of the things in my kitchen! I don’t enjoy cooking, but with three boys and a husband that all like to eat – it’s vital to keep most of the things in my kitchen in order to prepare and cook food for us. But that doesn’t mean that I need to keep everything and let my house get out of control. These are the steps I follow in order to keep the clutter from taking over my house:
- Remove the things that don’t belong. I don’t know about you, but most of the clutter in my house is due to things being left in a place that is not their “home”. Like my kids’ toys that get brought downstairs and not brought back up to their rooms, snacks that get brought out of the pantry and not put back, etc. So, the first thing I do when I’m trying to declutter is to go through each room in my house and pick up the things that don’t belong there. Then I put those things away right then, so they don’t just add to the clutter in another room. If an item doesn’t have a home, find a home for it and always return it to that spot.
- Get rid of things you don’t use. Instead of asking if something “sparks joy”, ask if it’s something that you use. If you have a bread maker because it was a wedding gift, but you have been married for 10 years and have never made bread, then it’s probably safe to get rid of it. Go through your house, one room at a time, and pick out the things that you don’t use or wear – donate the things you can, throw away the things you can’t.
- Pare down what’s left. So, hopefully you are now only left with the things that you use. But, if you still feel like you are overwhelmed with stuff, then it’s time to pare down. You might use all 26 of the mugs in your cupboard, but do you really need 26 mugs? Probably not. If you have a hard time getting rid of things you think you will need in the future – my tip is to keep out the lowest number of items you think you can get away with, and put the rest in a box and store it elsewhere – like in the basement or garage. If you don’t need those things at some point in the next 2-3 weeks, you can get rid of them.
I hope that these three steps are helpful for you! Decluttering shouldn’t be stressful – the whole point is to make your life less stressful. When you aren’t overwhelmed with stuff, you have the physical and mental space to move and live.
But, if you are feeling overwhelmed and don’t know where to start or how to make it last for more than a few days – please contact me. I would love to help you declutter and set up organizational systems for your home that actually work long term.

Top Ten Reasons to Stage Your Home
There are so many great reasons to hire a professional stager, but here are the top ten reasons according to Audra Slinkey. Audra Slinkey has been a professional stager for over 15 years and is the creator of Home Staging Resource – a training certification program for home stagers and redesigners.
5 Tips for a successful Open House
So, I know your realtor probably has some open house tips for you. But, after having sold a house last year and helping other people get their houses ready to go on the market, I have learned a few things. So, here are my top 5 tips for having the most successful Open House possible.
- Deep clean your house. Like, really get in there and clean. Or, if you are able to, hire someone else to clean your house for you. When people see a clean house they think that those home owners also take care of their house in the bigger, more important ways too. And who doesn’t want to imagine themselves living in a clean house?
- Let in as much light as possible. Open all of the blinds, curtains, and doors in your house. If it’s warm, but not hot, open up the windows and any doors with screens. Light makes things feel cleaner and more spacious – both very desired things to buyers.
- Make it smell nice. If you have the time, bake a batch of cookies and leave them out on a plate for people to snack on as they walk through your house. If you don’t have time to bake something, light a nice mild-smelling candle. The last thing a home buyer wants is to smell your pets or other odors.
- Declutter. If you can do this before your house goes on the market, that is preferred. But, if you haven’t done this before open house day, go through your house with a laundry basket and collect any papers, toys, or dirty clothes lying around-really anything that doesn’t belong where it is currently residing. Take the laundry basket into your car with you when you leave the house before the open house starts.
- Hire a professional stager. The best thing you can do is to have a stager come in and tell you exactly what you need to do in order to sell your house as quickly and for as much money as possible. A home stager will be able to look at your house objectively and tell you what buyers in your area are looking for and what needs to be changed or fixed in order to attract serious buyers. A stager will take the guesswork out of getting your house ready to sell.
The Journey Begins
I have been staging homes for years, but I am now a certified Professional Home Stager and Redesigner through Home Staging Resources. This is the beginning of my journey as an entrepreneur and small business owner. So, thank you for joining me on my journey. I hope you find something helpful here.
To start with, I will mostly be blogging about the staging that I have done in the past and will add new projects as I complete them. I will also try to add in helpful hints and tips for either staging or decorating your own home. Let me know if you have any questions about what you see here!
Good company in a journey makes the way seem shorter. — Izaak Walton

